Please make sure that you have signed out of all Microsoft accounts, this includes any @hotmail.com, @live.com, @msn.com, @passport.com and @outlook.com email accounts that you might have.
If you are unsure how to sign out it is best that you perform all steps in this guide in from a browser in Privacy Mode. Privacy Mode is called Incognito Mode, so I will be referring to it as this.
Using Safari Browser
Open Safari browser on the screen.
Hold down Command+Shift+N. This will open a new Safari window with private browsing enabled. Alternatively, go to File > New Private Window.

Using Chrome Browser
Open Chrome browser on the screen.
Hold down Command+Shift+N. This will open a new Safari window with private browsing enabled. Alternatively, go to File > New Incognito Window.

1. In the address bar of your favourite browser, type in https://login.microsoft.com.
2. Type in your full email addressand press Next.

3. Click Work or school account.

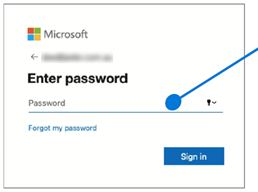
4. Enter in your email password.
After login, we will see the following interface.

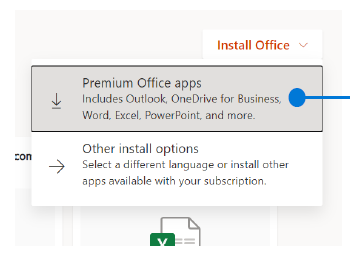
5. Select Install Office, from the top right drop down window. Then click Premium Office apps to download.
6. The Office software should automatically start to download. You may receive a message as described below: You will need to press Allow for the download to continue.

7. Depending on the browser you use, your download show have started.

Prior to installing the Office software onto your computer, please make sure that you have saved and closed all Office programs, Word, Excel, PowerPoint etc…
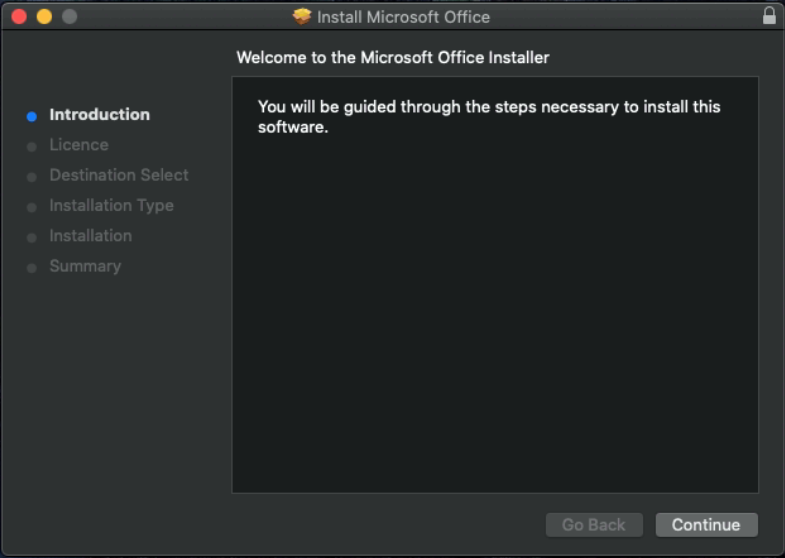
8. Open the downloaded file, click Continue.
9. Click Agree.
10. Click Continue.

11. Type in your Mac password and press Install Software.
12. Click Install.

13. After installation, click Close.

14. Click Go, then Applications.

15. You Office software will be located here.
